| .. | ||
| conf | ||
| data/keycloak | ||
| images | ||
| .gitignore | ||
| docker-compose.yml | ||
| README.md | ||
Token Authentication with Keycloak
In this example, we'll see how to configure your keycloak server and use token authentication with your registry. This will use the docker registry v2 token authentication protocol.

In this image, we will replace the docker client/daemon by the Docker Registry UI. Here are the steps:
- Attempt to get a resource (catalog, image info, image delete) with the registry.
- If the registry requires authorization it will return a
401 UnauthorizedHTTP response with information on how to authenticate. - The docker registry ui makes a request to keycloak for a Bearer token.
- Your browser will use the Basic Access Authentication Protocol. But keycloak does not support this protocol... That's why we need a nginx proxy on top of keycloak.
- Your proxy will receive a request on
/auth/realms/{realm name}/protocol/docker-v2/authwithoutAuthenticationheader. It will return a401 UnauthorizedHTTP response withWWW-Authenticateheader. - Your browser will ask you your credentials.
- The proxy will pass the credentials to keycloak.
- Keycloak returns an opaque Bearer token representing the client’s authorized access.
- The docker registry ui retries the original request with the Bearer token embedded in the request’s Authorization header.
- The Registry authorizes the client by validating the Bearer token and the claim set embedded within it and begins the session as usual.
⚠️ If you are configuring from scratch your own keycloak server, remove files in data folder first with certificates in conf/registry/localhost.*
Configure your nginx/proxy server
I will highlight required configuration for Basic Access Authentication Protocol. Replace the {realm name} by the name of your realm. In my example the realm is master, but you should create your own realm for your users.
  resolver 127.0.0.11 valid=30s;
  set $keycloak "http://keycloak:8080";

  # Location to get keycloak token
  location /auth/realms/{realm name}/protocol/docker-v2/auth {
    proxy_set_header X-Forwarded-Proto $scheme;
    proxy_set_header Host               $host;
    proxy_set_header X-Forwarded-Host   $host;

    if ($request_method = "OPTIONS") {
      add_header Access-Control-Allow-Origin $http_origin always;
      add_header Access-Control-Allow-Methods "OPTIONS, GET" always;
      add_header Access-Control-Allow-Headers "Content-Type, Accept, Authorization" always;
      add_header Access-Control-Allow-Credentials true always;
      add_header Content-Type "text/plain charset=UTF-8";
      add_header Content-Length 0;
      return 204;
    }

    # By default, keycloak returns 400 instead of 401, we need to change that
    if ($http_authorization = "") {
      add_header Access-Control-Allow-Origin $http_origin always;
      add_header Access-Control-Allow-Methods "OPTIONS, GET" always;
      add_header Access-Control-Allow-Headers "Content-Type, Accept, Authorization" always;
      add_header Access-Control-Allow-Credentials true always;
      add_header WWW-Authenticate 'Basic realm="Keycloak login"' always;
      return 401;
    }
    proxy_pass $keycloak;
  }
Start your nginx server. It will be available on http://localhost/ in my example.
docker-compose up -d proxy
Configure your keycloak server
I will highlight required configuration for docker protocol. You will need to add this option to your keycloak command line:
-Dkeycloak.profile.feature.docker=enabled
Then the defalt user can be configured via environment variables
services:
  keycloak:
    image: jboss/keycloak
    environment:
      KEYCLOAK_USER: admin
      KEYCLOAK_PASSWORD: password
    user: root
    networks:
      - registry-ui-net
    command: -Dkeycloak.profile.feature.docker=enabled -b 0.0.0.0
Now you can start your keycloak server, it will be available on http://localhost/auth in my example.
docker-compose up -d keycloak
Now you need to configure your docker client with these steps:
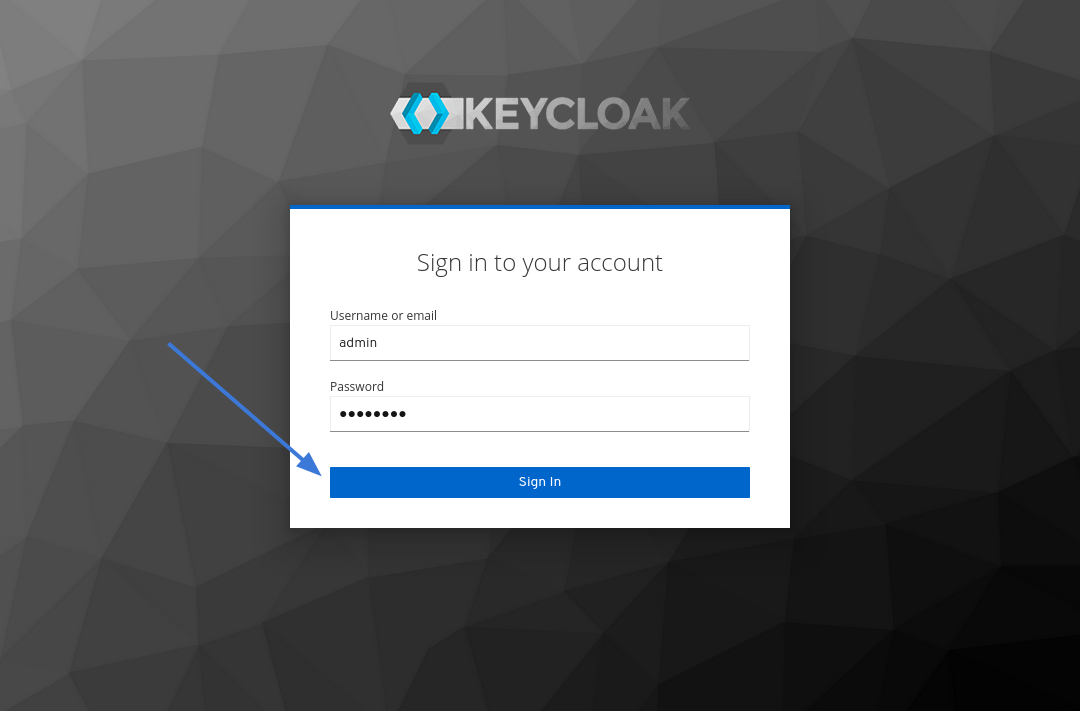
Go to the keycloak home page: http://localhost/auth and click on Administration Console.

Sign in with your login and password (in my example it's admin and password).
Go to Clients in the left side menu.

Create a new client.
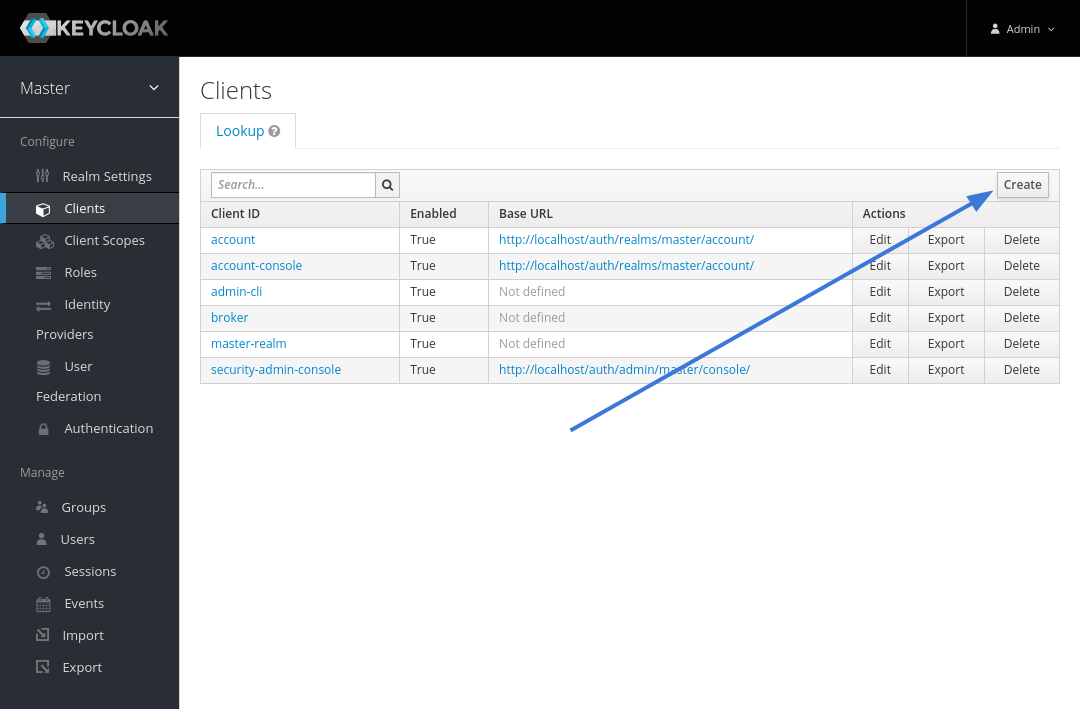
Enter a name for Client ID, choose docker-v2 as the Client Protocol, and click Save.

Navigate to Installation tab, choose Docker Compose YAML as Format Option and click Download

When you extract the archive, the resulting directory should look like this.
keycloak-docker-compose-yaml
├── certs
│   ├── localhost.crt
│   ├── localhost.key
│   └── localhost_trust_chain.pem
├── data
├── docker-compose.yaml
└── README.md
Copy all the files from certs folder to conf/registry (this will replace files generated for this example).
Configure your registry server
The last step is the configuration of your registry server. The config file is located in conf/registry/config.yml. The import part of the configuration is auth.token where you need to set realm, service, issuer and the rootcertbundle from the previous archive.
auth:
  token:
    realm: http://localhost/auth/realms/{realm name}/protocol/docker-v2/auth
    service: docker-registry
    issuer: http://localhost/auth/realms/{realm name}
    rootcertbundle: /etc/docker/registry/localhost_trust_chain.pem
Now you can start your docker registry with your docker registry ui.
docker-compose up -d registry ui